December, with its myriad of happenings. The last leaf to fall off but to a nurturing of new hope and wishful beginnings.
 Although a last stop on a road trip before the bend in the road or reroute but still a worthwhile stop to savour in. A station to rewind, revitalise, rejuvenate and relive in the realms of scenic outdoors.
  Even a walk alone in wild countryside or simply a road trip in crisp and calming sunshine contrasting with face numbing bouts of winter winds is a moment to delve in. Here I was having this evening hour when the sun has started to go down but with enough light to capture the twilight and gold. It looked stunning.
 And then there was the special night event of spectacular Geminid Meteor Shower dazzling the night sky. It was reported to be at its climax two hours past midnight. Looking forward to this star scenario, it took me trying two to three times to witness the silver slivers. Checking the Gemini spot on Google Sky Map, while aiming at the sky, within seconds two shooting stars whizzed by in a blink of an eye. Indeed it was the lapse of ultimate exhilaration when I jumped with joy in front of my dad feeling like a kid again upon fulfilment of a wish. Watching and finding shooting stars in the quiet of the night had a fair share of a nostalgia. Marvelling at the thought, the whole world is under this bedazzled experience, a sense of belonging in the company of stars, just as someone has rightly stated, if you are feeling lonely then look at the moon and imagine somewhere, someone is watching it too.
Happy Holidays season as it is with vacations, coming together of families, joining in fun and frolicking.
 Combined with holiday baking and a scrumptious meal prep with a catchy song playing in the background add more chutzpah to the joyous atmosphere. The crazy laughter fits making cheeks hurt, getting ready in a jiffy for coffee meet up, all these make last fortnight of December more memorable. I had this side of December before and this year too with family, cousins, and friends.
Dinner was decided before to be a Chinese journey. Slice and dice faster, julienne with finesse and chop finely, the trick of the trade of this side of cuisine. There was a starter hot n sour soup, a main course vegetable fried rice with chicken in sweet chilli sauce and lemon pineapple chicken with crunch of the fried almonds. And then I had decided if there is a little time slot then I would try my hands at a recipe inspired by a celebrity who is now known all over by his humble nature, warm smile, down to earth personality and outclass acting skills. He is talk of the town with his first venture which was a hit. And fan base keeps increasing day by day.  Honey Garlic Chicken by Ahad Raza Mir was the inspiration behind this side dish. I altered the recipe a bit but started it as such, finishing it off with a drizzle of honey and lemon juice at the final caramelising stage. Honey Garlic Chicken Skewers in citrus flavours, this side dish was loved by all. Oranges and tomatoes addition added a tangy tinge against honey infused sweetness. And a drizzle at the end where some of it caramelised along with a splash of fresh lemon juice, a sprinkle of freshly ground black pepper rendered all the flavours complimenting each other.
  Maybe a celebrity quotient was attached to it but Ahad Raza Mir’s Plate was indeed a hit with my friends and family. And this success with a quick side dish made me smile 🙂 Indeed when an extempore recipe turns out to be a nailed it event, it sure makes you happy inside and out 🙂
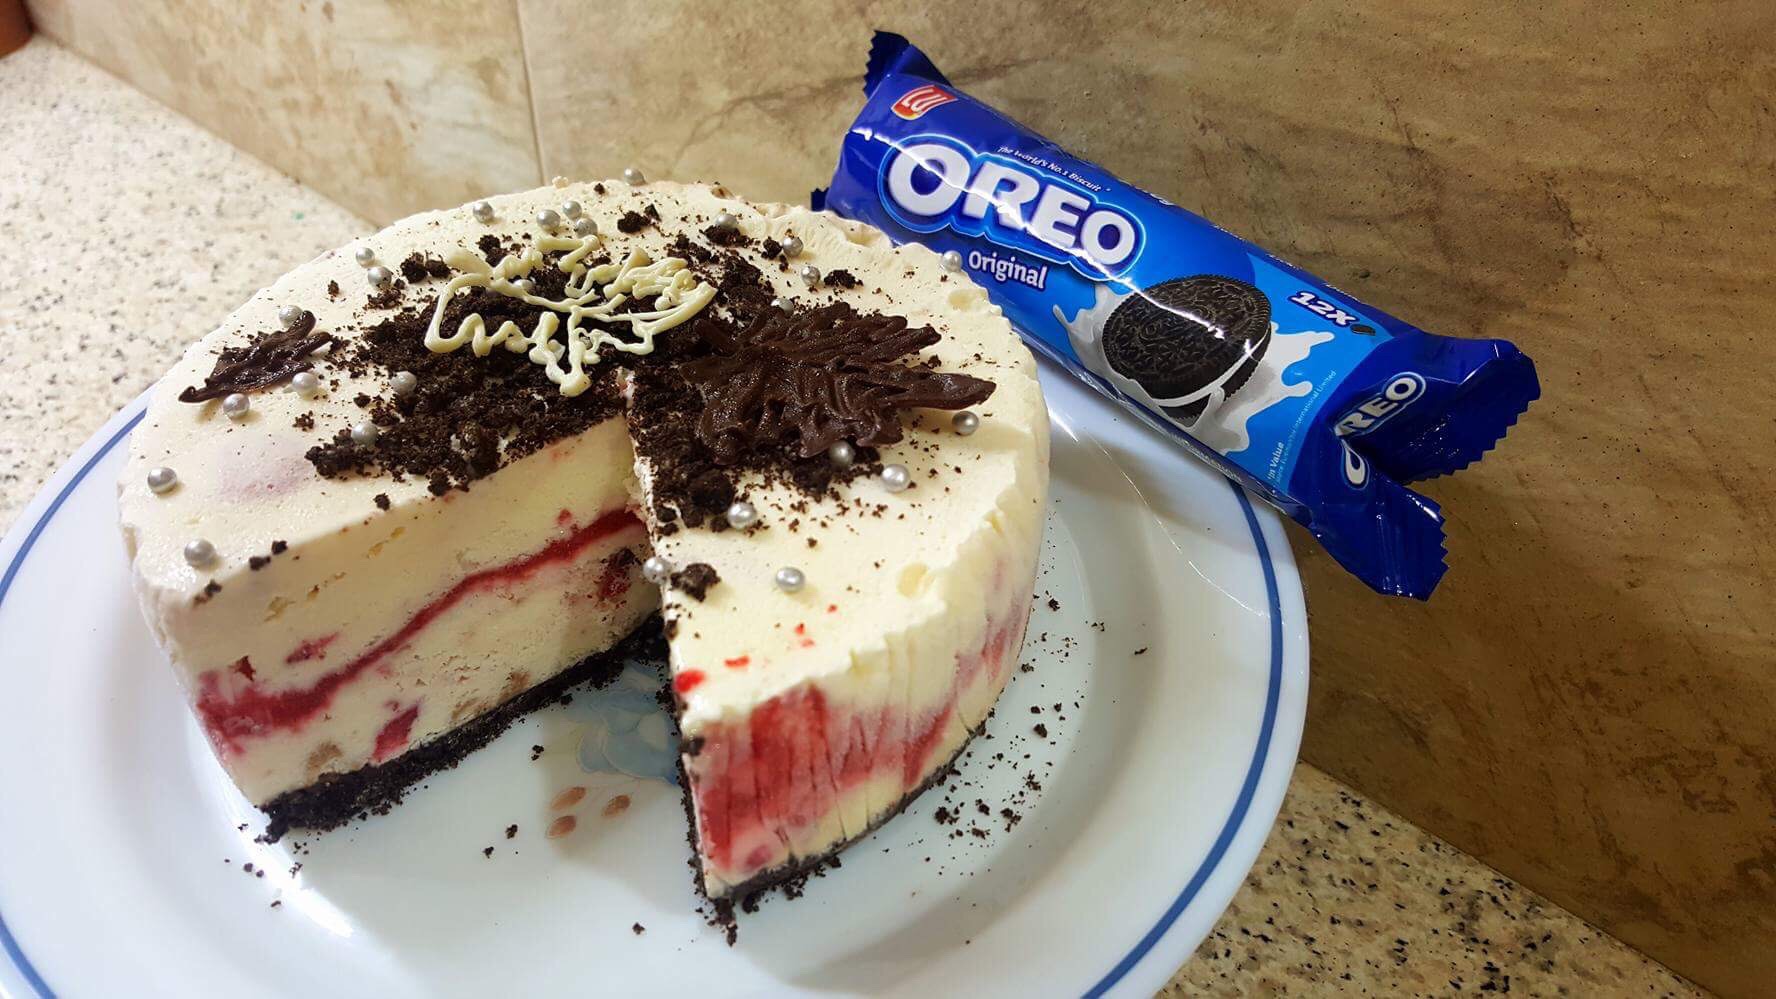
 And as according to Julia Child , a party without a cake is just a meeting, so this time it was three flavoured icecream cake. Coffee, Chocolate and Vanilla icecream on Oreo base. The recipe is a tried one before with Strawberry Swirl Vanilla Icecream.
 This Strawberry Icecream was for a competition of desserts with Oreos.
 Only difference is condensed milk addition in three flavoured icecream. It surely adds to the soft texture of icecream with less crystals and rock hard texture.

Three flavoured Oreo Icecream Cake
- 1 litre / about 4 cups full cream milk
- 3/4 cup granulated sugar
- 4 tablespoons cornflour
- 2 tablespoons vanilla icecream powder
- 1/3 cup water
- 2 teaspoons vanilla essence
- 1/2 cup plus 2 tablespoons condensed milk
- 400 ml full cream chilled to be added later
- 2 teaspoons coffee dissolved in 1/4 cup hot milk, 2 tablespoons cocoa powder plus 1/4 cup chocolate syrup or melted chocolate, for coffee and chocolate icecream
- 10 to 12 Oreos crushed finely plus a tablespoon or two of Chocolate syrup for the base
Dissolve cornflour and vanilla icecream powder in water and keep aside. Heat milk with sugar and vanilla essence in saucepan till boiling stage. Pour in cornflour and icecream powder mixture and keep stirring till it thickens and coats back of spoon. Remove from heat and let it cool completely. Refrigerate afterwards till addition of cream and coffee chocolate flavours. Line a base of 6 inch springform pan with Oreos and drizzle chocolate syrup on it. Refrigerate till icecream mixture is ready to layer. After 4 to 5 hours in fridge take icecream mixture out. Beat 400 ml chilled cream with electric beater till soft peaks stage. Add in condensed milk and beat again. Gently fold it in the icecream or whip the whole mixture till smooth. Now divide this mixture into 3 half litre icecream portions in 3 plastic containers. You will have a little more mixture left, then distribute it evenly between 3. Label one container vanilla and freeze it. Add coffee in hot milk, stir and mix it in second portion . Similarly for chocolate flavour add in cocoa powder and chocolate syrup and stir till smooth. Freeze all flavours for 3 hours or till it start to set from sides. Beat with electric whisk all 3. Pour coffee icecream on set Oreo base, and freeze for about 40 minutes to one hour. In the meanwhile keep other two flavours in freezer. After coffee icecream has set layer above with chocolate and freeze again till it sets for about 30 to 40 minutes. Put the last layer of vanilla icecream and cover gently with cling wrap and freeze overnight or for 6 to 8 hours.
 Before serving take it out of freezer about 20 minutes before. Drizzle chocolate or salted caramel syrup on top, or shards of tempered chocolate or grated chocolate or more Oreos or a brown sugar sprinkle and sing to the three genres of flavour songs in one icecream record.

 You can add more or less coffee or cocoa powder or chocolate syrup depending on how do you like your coffee or do you have a taste for dark or milk chocolate.
Some say it is difficult to enjoy icecream in the chill of winters but those having a sweet tooth cannot resist it despite the cold. What is better than a bowl of your favourite flavour to dig in on a clear sunny day , absolute joy indeed. An icecream equation to December differential is sure to equate 🙂 with the winter variables . ….. !

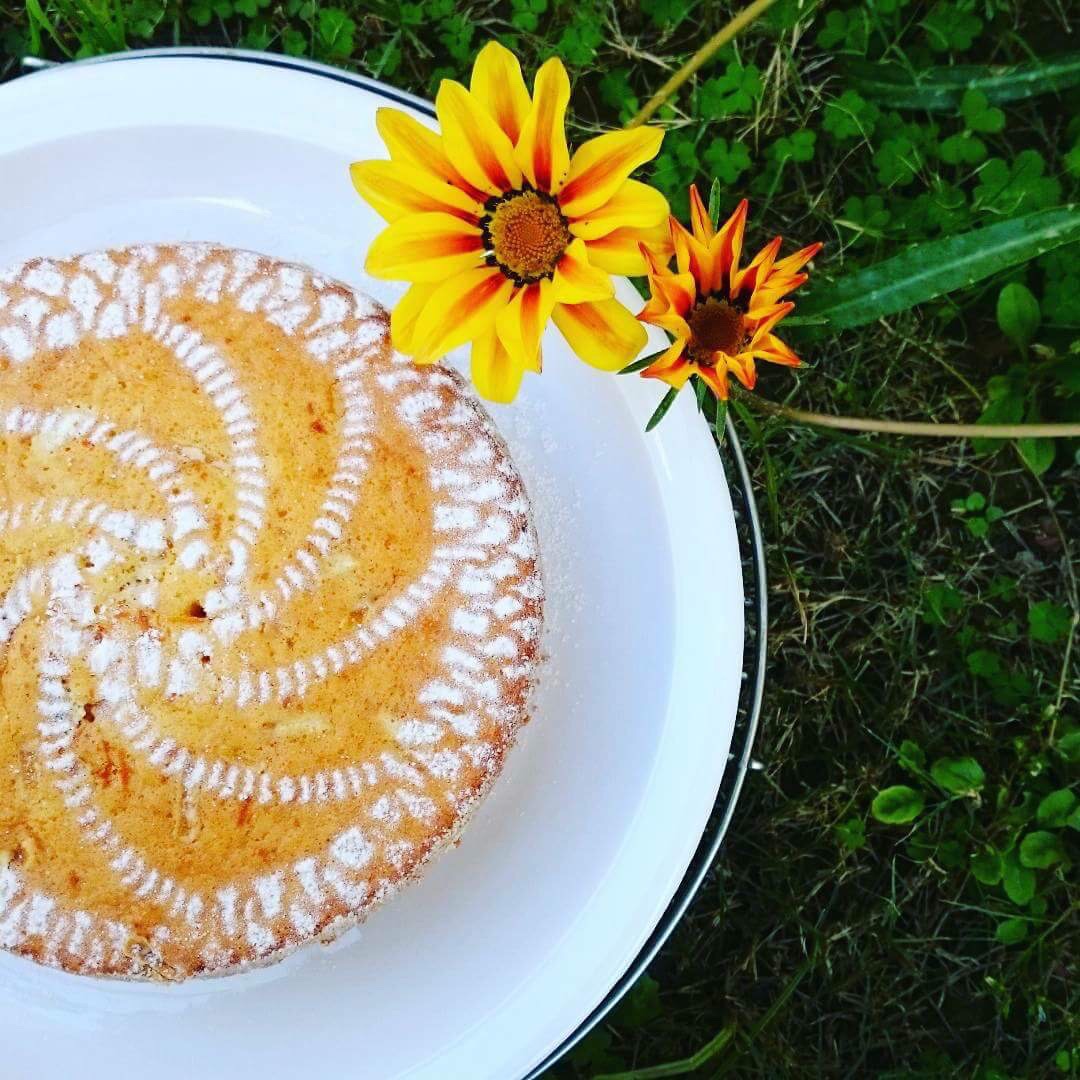
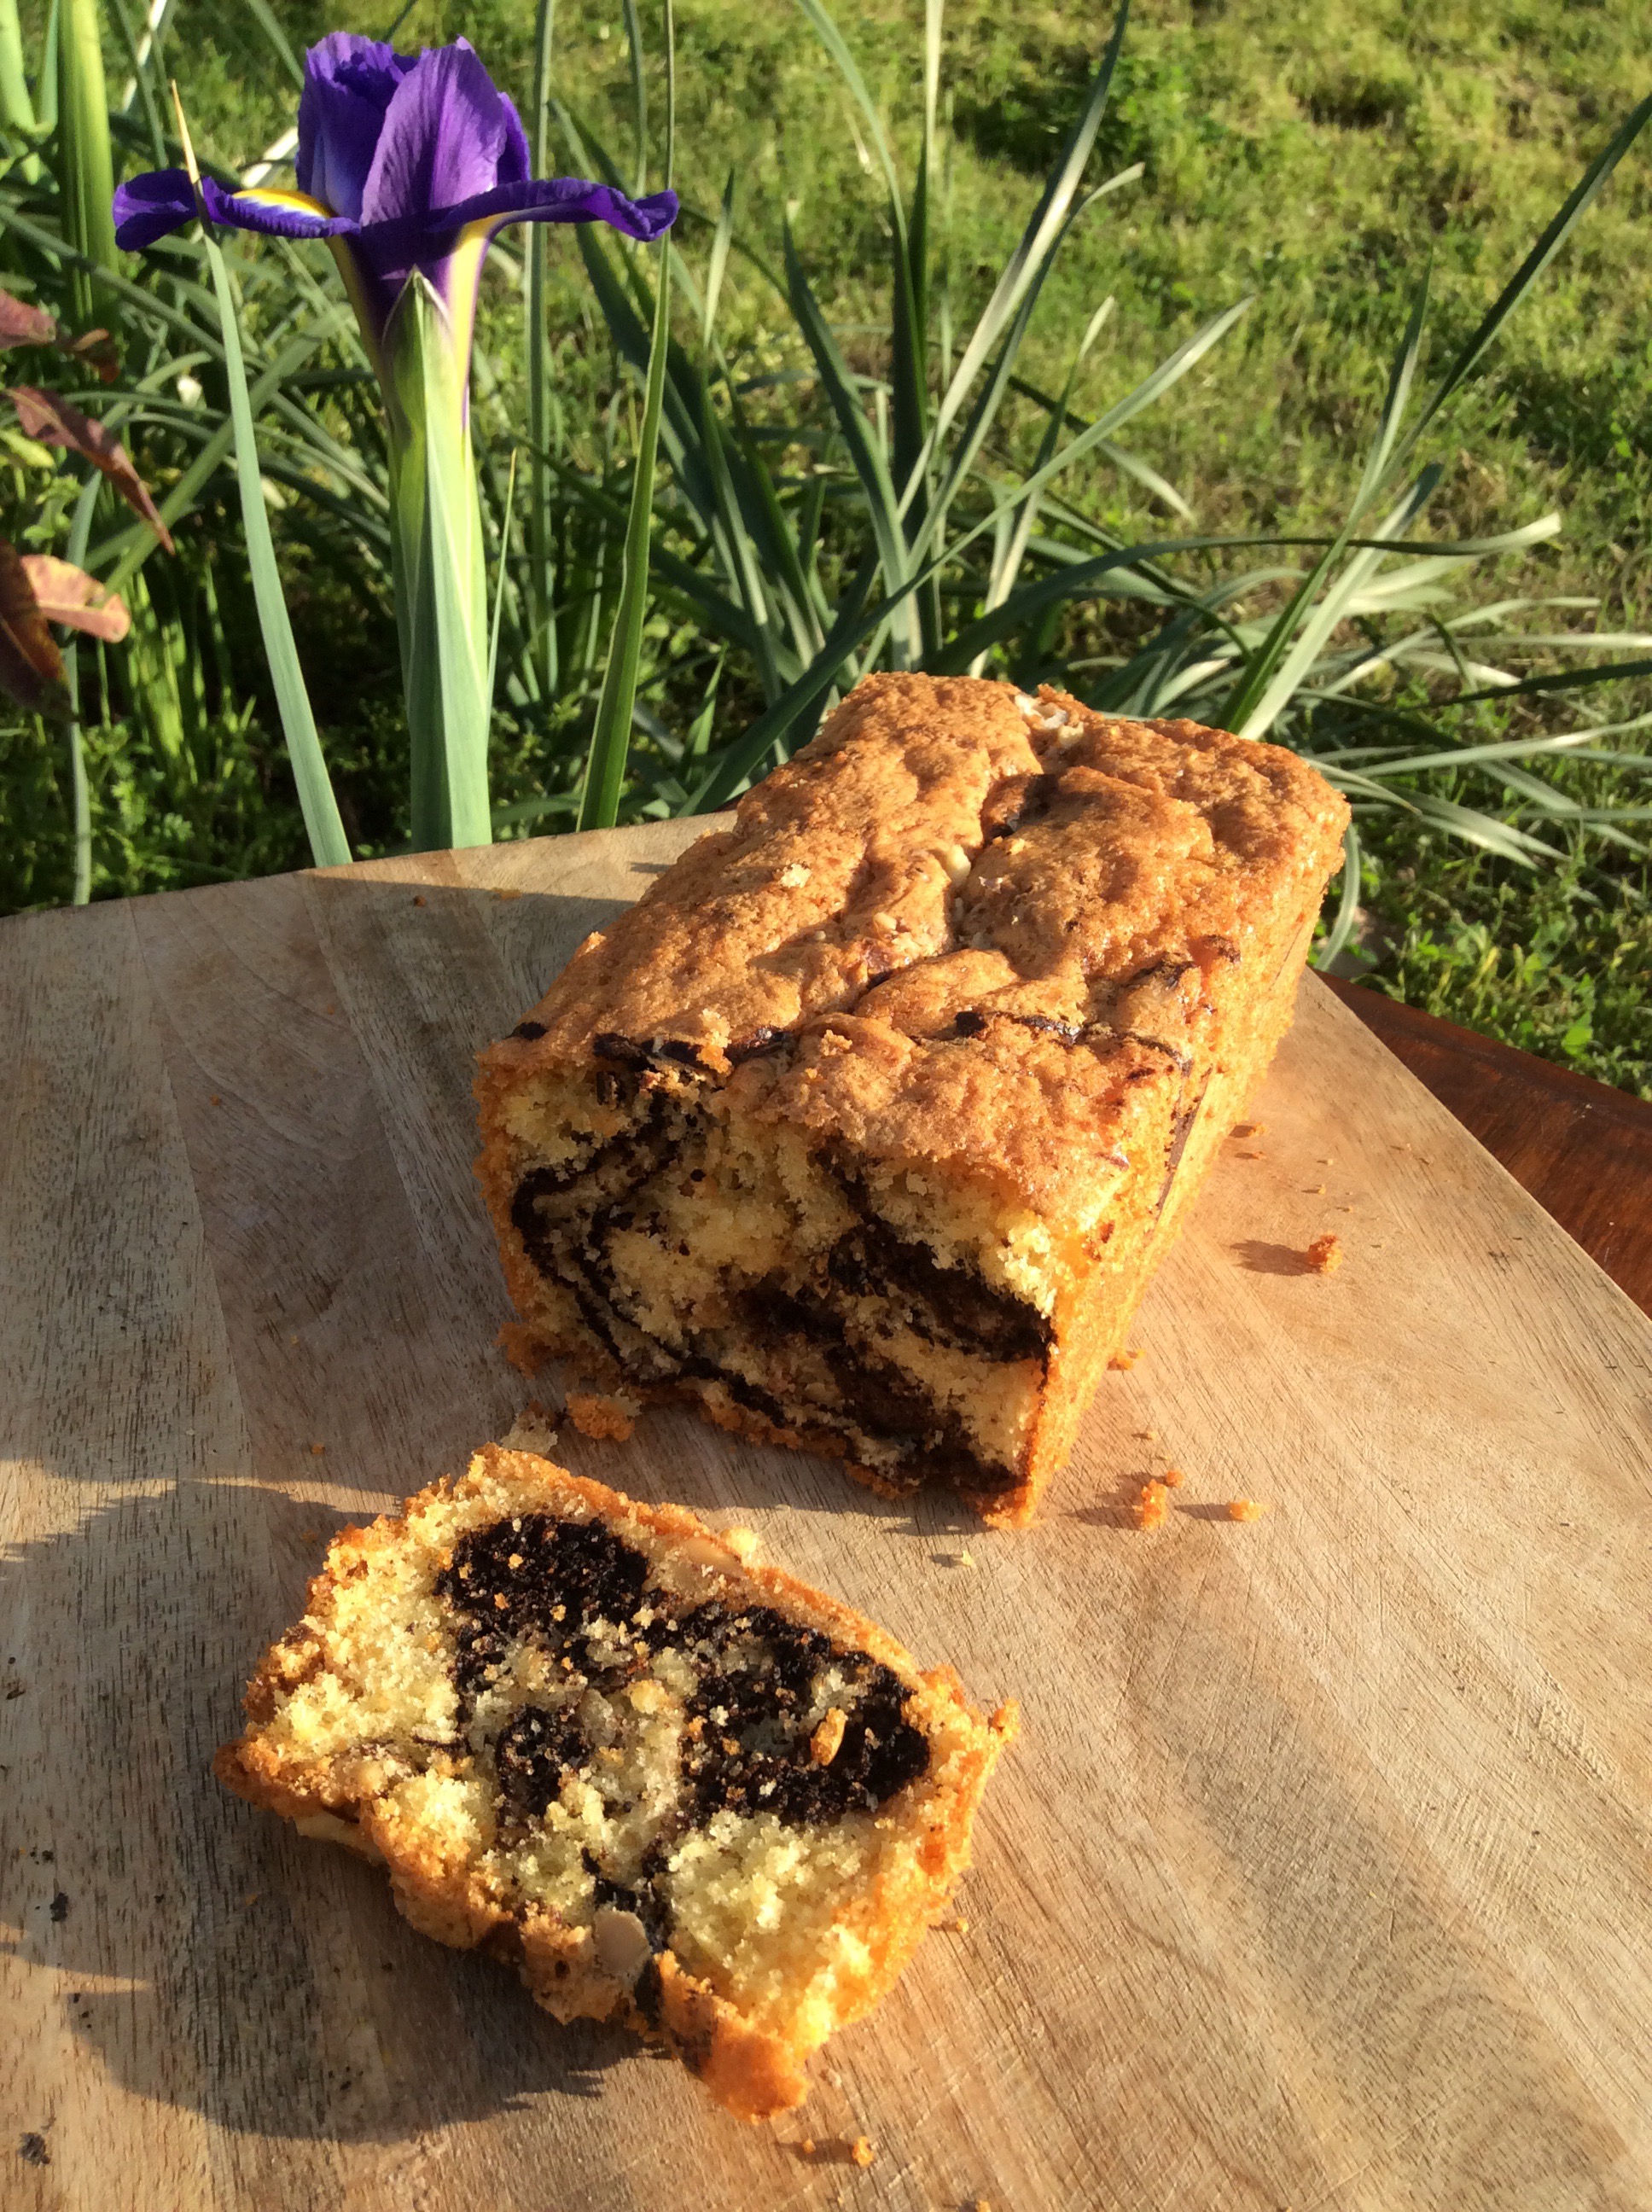
 This year it was fun discovering that adding just a few tablespoons of citrus hints to any recipe lift up the flavours to a new height and make it all the more scrumptious.
  I have this yellow cake recipe learned from my mother. It is a keeper indeed. Because whenever I whip up a cake it brings back fond memories to delve into. This is her love kept save in a form of a wrapped present ready to bring smiles whenever required.